How To Setup Wind Banner Flags In 4 Simple Steps
Posted Tuesday, September 1st • by CK • Print Specialist

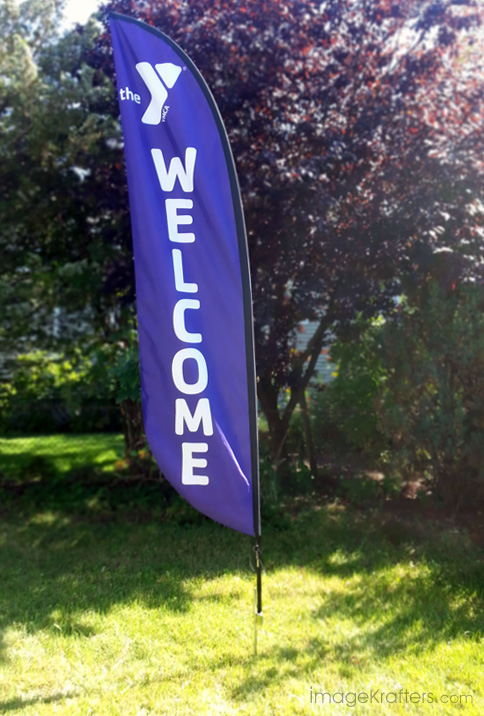
Setting up a banner flag is very easy and usually takes about 5 minutes by following the steps below. Here is a look at a 10.5ft feather convex style banner flag used for reference fully assembled.
If you are a customer of ours and reading this post, we thank you and truly appreciate your business. Should you need further help and would prefer to discuss flag setup over the phone, please give us a call at (516) 922-0692 for assistance.
Step 1: Unfurl Your Flag And Inspect The Hardware
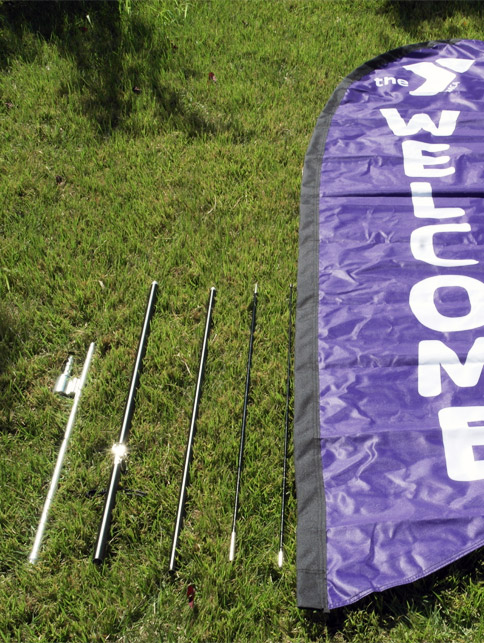
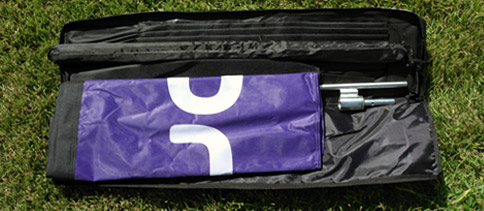
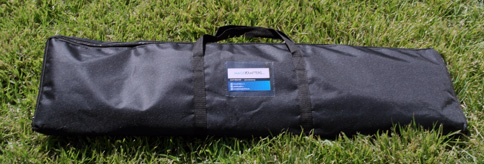
Lay out all components where you plan to display the flag. All orders come with a support base, the flag itself and telescopic support poles which break down to fit within the 36" wide travel case which are optional. The image below shows all flag components laid out including the open and closed travel case. The fabric the flags are printed on may crease during transit but once assembled and taut the flag will look perfect.
Step 2: Hammer The Ground Stake Deep Into The Ground
The ground stake is tough and can be used again and again to secure your flag in the ground. Some customers may choose to simply push the ground stake into the dirt, but a hammer will be the best tool to make sure it is deep within the earth and will not move under high wind conditions. Be sure you are hammering the long end of ground stake and not the rotating flag post or you will damage the ground stake.
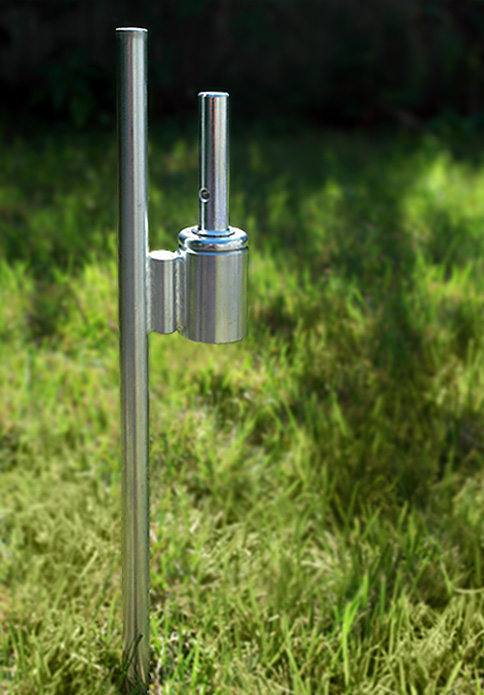
The deeper you hammer the metal stake into the ground, the more secure your flag will be. We recommend hammering the ground stake down as far as you can for maximum support.
Step 3: Assemble The Flag Support Pole & Guide It Through The Pocket
Assemble the support pole by inserting the smaller tapered end poles into the wider poles.. When you are done, you will have a long flexible flag support pole as in the photo below.
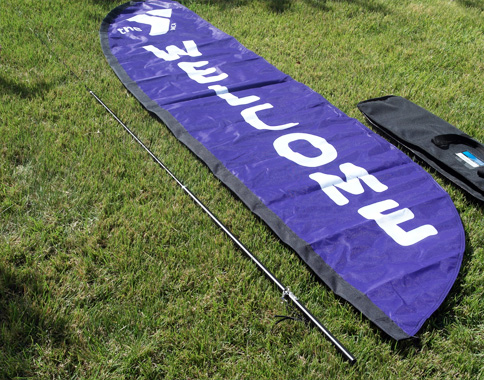
Now, insert the small tapered end of the pole into the sewn flag pocket and guide it up until it reaches the very top of the flag. Make sure the end of the pole reaches the very top of the sewn pocket so your flag will fly properly.
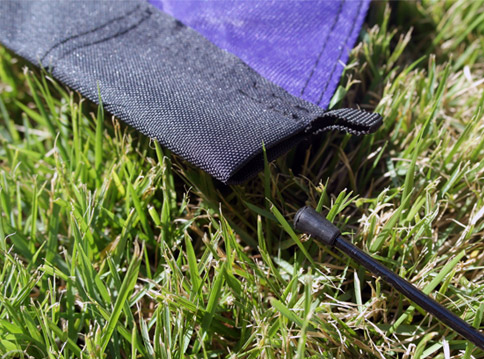
In the photo above, you can also see the small fabric loop at the bottom of the flag. The fabric loop is used to tie the flag directly to the flag support pole.
Step 4: Insert The Flag Pole Over The Rotating Post & Tie The Flag
The image below shows the flag support pole inserted onto the rotating flag post of the ground stake.
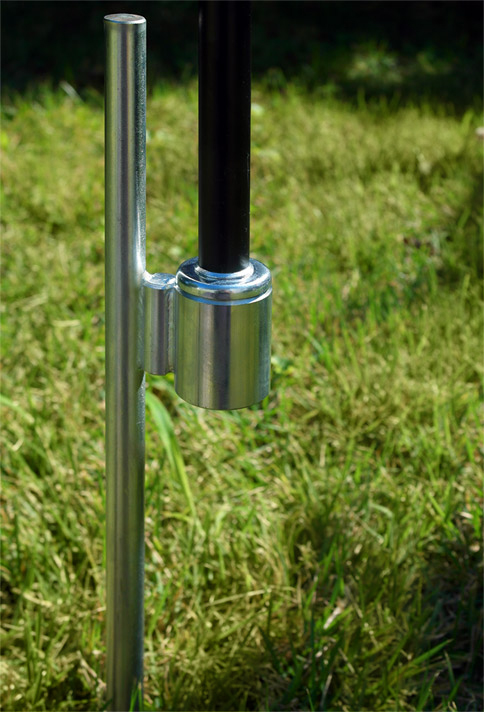
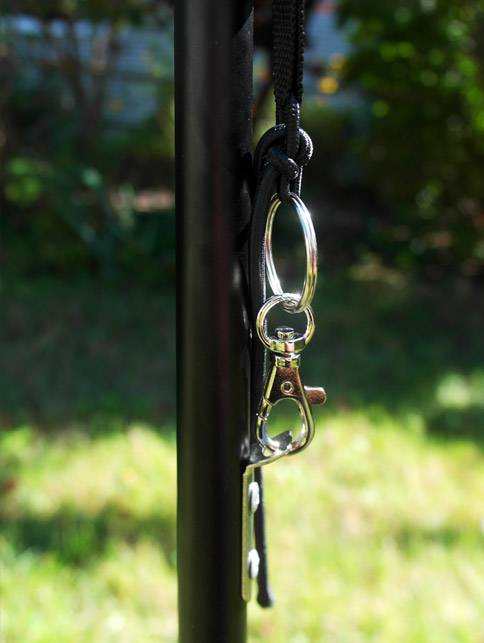
At base of the flag support pole with the flag already attached, as in the image below; you will notice a fabric loop which is used to tie the flag to the support pole using the supplied bungee cord and alligator clasp. You will also see a metal mount affixed to the base of the flag support pole. The metal mount is used to secure the cord attached to the flag itself, directly to the flag support pole. Keep the cord short enough to create tension, then pull the flag down and lock the alligator clasp onto the mount. The flag should be taut at this point and securely attached to the support pole.
An Important Note About Leaving Flags Outside During Storms
You should always take your flags inside during severe storms. Securing the ground stake will prevent the flag from falling over during normal wind conditions and you can easily remove the ground stake or flag by simply pulling it out. However, you should always take flags in during a storm as the extreme wind stress can bend and damage the flag support pole. The flag support pole is made of metal which can be bent and replaced if necessary. Still, we recommend taking in flags during heavy storms to keep your flags in good shape so they last a long time.
The 4 Steps In Summary:
- Unfurl your flag so you can see all the components clearly.
- Hammer the ground stake securely to the ground where you intend to display your flag.
- Assemble the flag support pole and guide it through the sewn flag socket to the very top of the flag.
- Insert the flag support pole onto the rotating flag post and tie the flag to the flag support pole.
We hope this article helps to make setup an easy process, but if you prefer discussing flag setup over the phone, or need to get a quote; please give us a call at (516) 922-0692 for assistance. Otherwise, contact us through our website or live chat with one of our printing specialists online. All links open a separate window and thanks for taking the time.
|
Stay Informed & Save On Printing @ImageKrafters
Joining our mailing also makes you eligible to receive online printing promo codes and specials we occasionally offer to our customers and followers. It is our promise never to sell or misuse your info. We despise spam like everyone else! |


